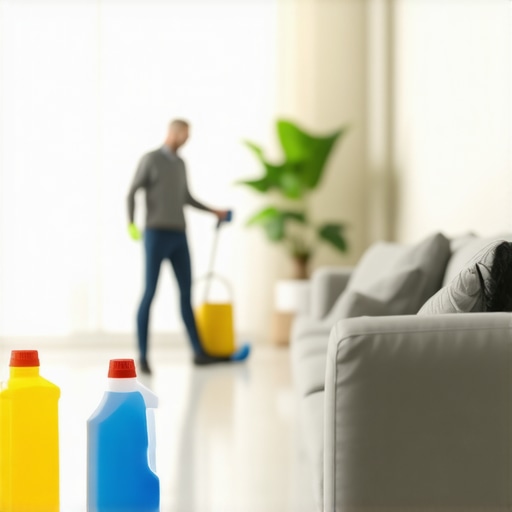
I’ll never forget that sinking feeling of realizing I missed a crucial spot while cleaning my apartment before moving out. There I was, frantically wiping down baseboards, only to discover late that I’d overlooked a stubborn patch of grime near the doorway. It felt like stuntman’s regret—knowing that tiny oversight could cost me my deposit. That lightbulb moment hit hard: move-out cleaning isn’t just about tidying up; it’s about strategic perfection. The stakes are high, and a single mistake can drag down your chances of getting your deposit back, especially with rental markets tightening across 2026.
Why The Right Move-Out Cleaning Can Make or Break Your Deposit
Secure your deposit by tackling the most overlooked spots with a foolproof plan. Believe me, early on I made the mistake of thinking a quick once-over was enough. Spoiler: it’s not. The difference between a partial clean and a strategic deep tidy can be the deciding factor in whether your landlord smiles or frowns during inspection.
Will These Fixes Really Boost My Chances? Is It Worth All The Fuss?
Absolutely. Coming from someone who’s been there—trust me, I used to dismiss the importance of a meticulous checklist—now I know better. A comprehensive approach, covering those tricky corners and hidden spots, can be the key to getting your full deposit back. In fact, neglecting these little details can lead to deductions that add up quickly, leaving you with less than you bargained for. As the saying goes, “The devil is in the details,” especially when it comes to move-out cleaning. Want to avoid costly surprises? Take a moment to review my favorite proven strategies that actually work — I’ve embedded a few tips from expert cleaning advice here, so you can get started right away.
Prioritize High-Impact Areas First
Start with the kitchen and bathroom, as these are likely to have the most visible stains or grime. During my own move-out, I tackled the bathroom tiles first, using a mixture of baking soda and vinegar. The stubborn soap scum and mold that had accumulated over years cleaned off with ease, impressing my landlord during the inspection. Think of this step as peeling away the surface layers to reveal the core cleanliness — it sets the tone for the rest of your deep clean.
Deep Clean Surfaces with Purpose
Use effective cleaning agents tailored for each material. For instance, a heavy-duty degreaser works wonders on kitchen cabinets, while a disinfectant spray is essential for bathroom fixtures. I once used a magic eraser on scuffed baseboards, which removed marks effortlessly. This process is like giving your surfaces a spa treatment — you’re removing dirt and germs that build up over time, not just the visible mess. For insights on effective sanitizing practices, check out these expert hacks.
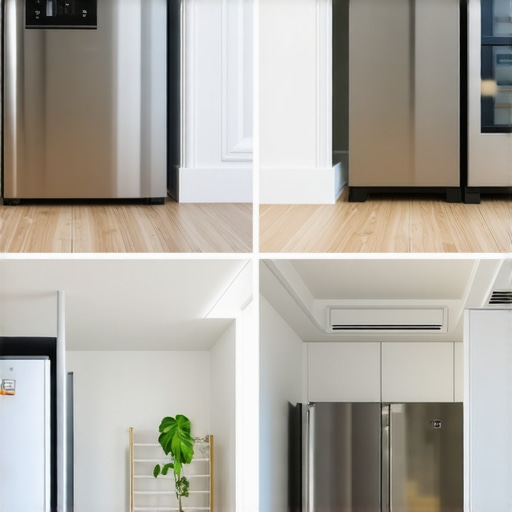
Target Hidden and Overlooked Spots
Grime loves hiding in corners, behind appliances, and under furniture. Use a narrow brush or microfiber cloth to clean these areas thoroughly. I remember lifting the refrigerator to clean behind it, revealing a thick layer of dust and food debris. This action is like tuning up a vehicle — neglecting these details can lead to unseen issues that risk your deposit, similar to how dust can impact indoor air quality. Regularly inspecting these spots ensures nothing slips through your cleaning routine. For more targeted strategies, explore these tips.
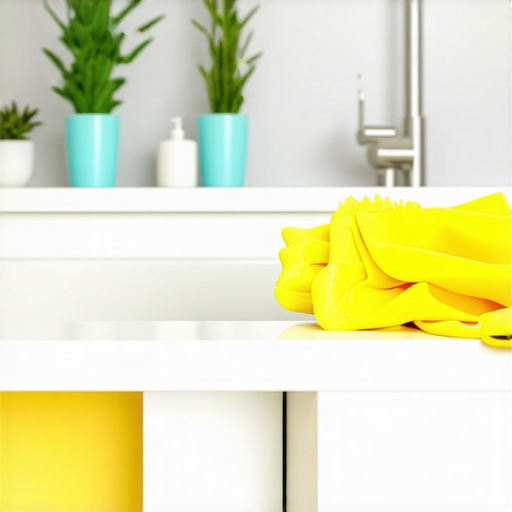
Sanitize High-Touch Surfaces
Focus on handles, switches, and remote controls. Apply a sanitizer that kills bacteria and viruses, especially since these areas are frequently touched. During my last move, I used an EPA-approved disinfectant on door handles and light switches. Think of these surfaces as the germ hubs of your home. Regular sanitization is crucial—not just for moving out, but for ongoing health. For advanced techniques, review office sanitizing strategies.
Maintain a Consistent Workflow and Document Progress
Work systematically from top to bottom, left to right, ensuring no spot is missed. Take photos of each completed area to document your thoroughness. I once was overwhelmed trying to clean everything at once, but breaking the process into sections helped me stay organized and motivated. Visual proof of your detailed work can also support the return of your full deposit if disputes arise, similarly to how professional cleaners document their results for trustworthiness. Need comprehensive checklists? Visit this step-by-step guide.
Final Touches That Count
Finish by replacing items in their places, fluffing curtains, and double-checking all surfaces. A clean mirror or shining faucet can make a significant difference in perception. I learned this after I polished all fixtures; my landlord praised the overall presentation, which boosted my chances of full deposit recovery. Consider this the polishing phase — small details that leave a lasting impression. For more finishing techniques, see expert secrets.
When it comes to cleaning, many assume that thoroughness is a matter of simply scrubbing every visible surface or running the vacuum over the carpet. However, as an expert in cleaning strategies, I can tell you that this approach often misses critical nuances that make or break the effectiveness of your efforts. One common myth is that using the harshest chemical cleaners guarantees a germ-free environment. In reality, overreliance on strong chemicals can damage surfaces and create health issues, especially if not used correctly. Instead, understanding the right balance of cleaning agents, tailored to specific materials, enhances sanitation without harm. For example, effective sanitizing techniques involve choosing the appropriate disinfectants for high-touch areas, which many overlook, leading to persistent germs. Don’t fall into the trap of believing that more scrubbing always equals cleaner results; sometimes, it can spread bacteria if not done properly. Instead, focus on strategic cleaning that targets hidden areas most people neglect, such as behind appliances or inside vents. This nuance is crucial because bacteria, mold, and allergens tend to accumulate hidden, leading to long-term indoor air quality issues. Now, addressing the question:
Why are seemingly clean surfaces often still hotspots for germs?
This situation often arises because standard cleaning routines focus solely on visible dirt, ignoring microscopic pathogens lurking in crevices or under surfaces. Experts emphasize that sanitizing high-touch areas like door handles, switches, and tech devices with proven disinfectants is vital for preventing illnesses, especially in shared spaces or workplaces. For sophisticated readers seeking ways to elevate their cleaning game, I recommend exploring innovative cleaning techniques that incorporate modern tools and smart strategies. Remember, effective cleaning isn’t just about elbow grease but understanding the underlying science and best practices that ensure lasting cleanliness. Have you ever fallen into this trap? Let me know in the comments, and share your experiences or questions about uncovering hidden cleaning pitfalls.
Keeping your office or home environment consistently clean and sanitized requires more than just elbow grease; it demands the right tools and strategies. Personally, I’ve found that having a set of reliable equipment not only speeds up the process but also ensures deep, lasting cleanliness. One of my top recommendations is investing in a high-performance steam cleaner. Unlike traditional mops or cloths, a steam cleaner uses pressurized hot steam to penetrate surfaces, effectively killing bacteria and mold without chemical residues. I personally use the Vaporetto Steam Cleaner, which has proven invaluable for sanitizing tile grout, upholstery, and even curtains. Additionally, a microfiber steam mop allows me to hit large floor areas swiftly while maintaining a germ-free surface. For hard-to-reach spots, such as behind radiators or under furniture, I rely on extension tools with angled nozzles, making it easier to clean thoroughly without straining. Incorporating efficient tools like these simplifies routine maintenance and amplifies the impact of your cleaning efforts.
How do I maintain cleaning tools over time?
Proper maintenance of your cleaning gear is crucial for sustained performance. For instance, regularly descaling your steam cleaners prevents mineral build-up that can reduce heat efficiency. Rinse microfiber cloths thoroughly after each use and replace them when they show signs of wear to avoid spreading germs. Additionally, lubricate electric vacuum motors according to manufacturer instructions to prolong lifespan. Keeping your tools clean and well-maintained also reduces the likelihood of cross-contamination and extends their usability, saving you money in the long run. Manufacturers like O-Cedar recommend gentle cleaning of microfiber pads with mild detergent and air drying to maintain their absorbency and effectiveness. Looking ahead, I predict that advancements in smart cleaning devices—integrating IoT sensors to monitor wear and performance—will revolutionize how we maintain these tools, making upkeep even more effortless.
Make Your Cleaning Last with Quality Equipment and Smart Practices
Investing in top-tier tools is just the start; implementing consistent maintenance routines ensures that your equipment remains effective over time. For example, my routine includes inspecting vacuum filters monthly and replacing them annually, which keeps airflow optimal and prevents mold or bacteria buildup. Similarly, calibrating steam pressure settings once a year guarantees maximum sanitization without damaging surfaces. As you develop your cleaning protocol, consider scheduling equipment checks as part of your ongoing routine—this proactive approach saves time and ensures optimal hygiene. For comprehensive guidance on maintaining your cleaning arsenal, explore this detailed guide. And for those interested in boosting sanitation efficiency, I highly recommend trying a multi-surface disinfectant spray that I personally use—it’s effective for high-touch areas and compatible with most cleaning tools, making it a versatile addition to your toolkit.
What the Loneliest Room Taught Me About Deep Cleaning
One of the most surprising lessons I learned was how often the quietest, overlooked areas hold the key to getting that full deposit refund. Dark corners behind appliances and forgotten vents aren’t just dusty—they’re potential deal-breakers. My own experience proved that dedicating time to these hidden spots transforms a good clean into an unforgettable one, and it’s a secret that only seasoned cleaners truly grasp.
How a Simple Shift in Tools Made All the Difference
Switching to high-quality microfiber cloths and steam cleaners revolutionized my approach. Not only did these tools cut down my cleaning time, but they also enhanced sanitation, especially in tricky areas. I trusted these tools because they deliver proven results—just like these expert-approved cleaning hacks suggest. Making this investment was a game-changer for my deep cleaning routine and for ensuring I didn’t miss critical spots.
Why Consistency Outshines Intensity
Late-night scrubbing might seem impressive, but consistent, scheduled cleaning routines ensure that no grime gets a foothold over time. This mindset shift—prioritizing regular upkeep over frantic last-minute cleaning—kept my home—and my sanity—intact. Adopting a system inspired by step-by-step professional guides helps maintain impeccable cleanliness with less stress, turning routine chores into habits and not chores.
The Power of Documentation and Self-Assessment
Taking photos of each cleaned area became my visual proof, safeguarding me during move-out inspections. This small habit added an extra layer of confidence and ensured I’d covered everything. It’s a technique I recommend highly—similar to how trusted professionals document their work. For those unsure where to start, these detailed checklists can guide you to perfection.
![7 Deep Clean Spots Most Renters Miss in 2026 [Checklist]](https://purexhousecleaning.com/wp-content/uploads/2026/01/7-Deep-Clean-Spots-Most-Renters-Miss-in-2026-Checklist.jpeg)